Hello friends, today in this blog you’ll learn How to configure XAMPP to Send Mail from Localhost in PHP. If you don’t know, XAMPP is an abbreviation for cross-platform, Apache, MySQL, PHP, and Perl. Using XAMPP we can work on our local server and test our local copies or projects of websites using PHP code and MySQL databases.
As a part of the experiment, developers need to send emails and we all know that sending mail from localhost using PHP can be much more painful if we don’t know how to properly configure XAMPP for it.
Before starting this blog, if you want to send an email in node.js applications, then you can see this blog How to Send Email in Node.js using Nodemailer & Gmail.
To send mail from localhost using XAMPP, we’ve to configure XAMPP after installing it. To configure the XAMPP server to send mail from the local host, we have to make some changes in two files one is PHP and another one is Sendmail.
First, go to the XAMPP installation directory and open the XAMPP folder and follow the below steps same: I’ve installed XAMPP in the C directory.
1. Go to the (C:xampp\php) and open the PHP configuration setting file then find the [mail function] by scrolling down or simply press ctrl+f to search it directly then find the following lines and pass these values. Remember, there may be a semicolon ; at the start of each line, simply remove the semicolon from each line which is given below.
[mail function]
For Win32 only.
http://php.net/smtp
SMTP=smtp.gmail.com
http://php.net/smtp-port
smtp_port=587
sendmail_from = your_email_address_here
sendmail_path = "\"C:\xampp\sendmail\sendmail.exe\" -t"
That’s all for this file, press ctrl+s to save this file and then close it.
2. Now, go the (C:\xampp\sendmail) and open the sendmail configuration setting file then find sendmail by scrolling down or press ctrl+f to search it directly then find the following lines and pass these values. Remember, there may be a semicolon ; at the start of each line, simply remove the semicolon from each line which is given below.
smtp_server=smtp.gmail.com
smtp_port=587
error_logfile=error.log
debug_logfile=debug.log
auth_username=your_email_address_here
auth_password=your_password_here
force_sender=your_email_address_here (it's optional)
That’s all for this file, press ctrl+s to save this file and then close it. After all changes in the two files, don’t forget to restart your apache server.
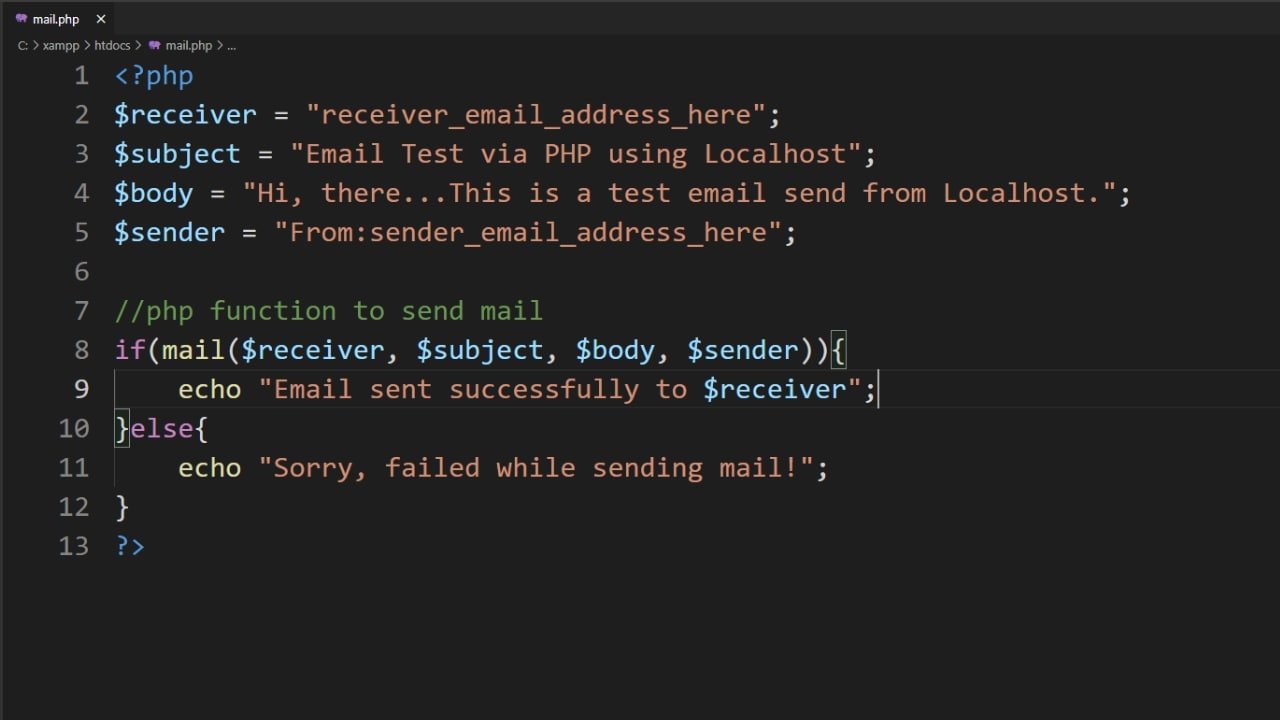
Now, you’re done with the required changes in these files. To check the changes you’ve made are correct or not. First, create a PHP file with the .php extension and paste the following codes into your PHP file. After pasting the codes, put your details into the given variables – In the $receiver variable put the receiver email address, in the $subject variable put the email subject and do respectively.
<?php
$receiver = "receiver email address here";
$subject = "Email Test via PHP using Localhost";
$body = "Hi, there...This is a test email send from Localhost.";
$sender = "From:sender email address here";

if(mail($receiver, $subject, $body, $sender)){
    echo "Email sent successfully to $receiver";
}else{
    echo "Sorry, failed while sending mail!";
}
?>
After completing these steps, just open this PHP file on your browser. If your mail is sent successfully then there is appears a success message “Email sent successfully to …..” and in the case your mail not sent then there is appears “Sorry, failed while sending mail!”.
If mail is sent then check whether the receiver has got your email or not. If yes, then great you did all changes perfectly. If not, check all the changes that you have done earlier are correct or not.
Note: Google removed the “Less secure apps” feature on May 30, 2022. So you need to do some extra steps and make changes in the files to send mail from localhost using Gmail.
Instead of using your Google account password as auth_password in sendmail configuration file, you need to use an App password which is 16 characters long.
To create an app password, go to manage your google account > Click Security > Under “Signing in to Google,” select App passwords > Select App & Device, and then you’ll get a 16-character code and this is your password. For more details about creating App Passwords, read the Official Google Article.


